
How to Download and Install App Uninstaller
If you don’t know where to download and install App Uninstaller for your Mac, this is the complete guide for you.
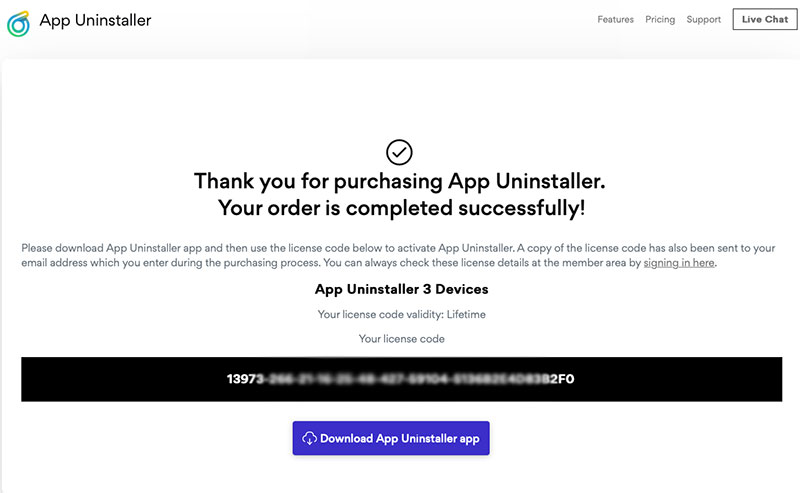
Once you’ve purchased App Uninstaller, you will get a download page (seen as the provided screenshot mentioned on Step 1) wherein you can download the powerful App Uninstaller with one simple click. The download and install process is very simple and we have the step by step guide for you.
Step 1: When the order of App Uninstaller is accomplished, you will get the Download page immediately. Click Download App Uninstaller app button to get started at once.
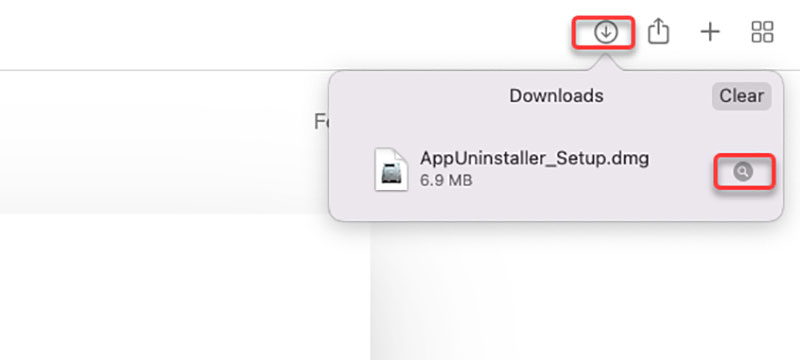
Step 2: Click download icon on the top right corner of the same page. Or go to Download folder from Finder to locate at the App Uninstaller app that you just downloaded.
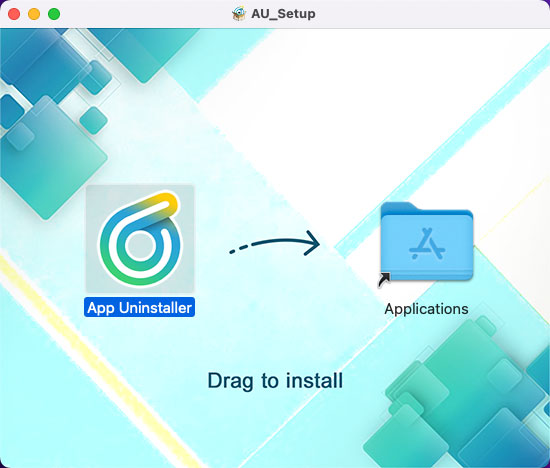
Step 3: Now, you will get the App Uninstaller setup page. Drag the App Uninstaller app to the Applications folder to install it.
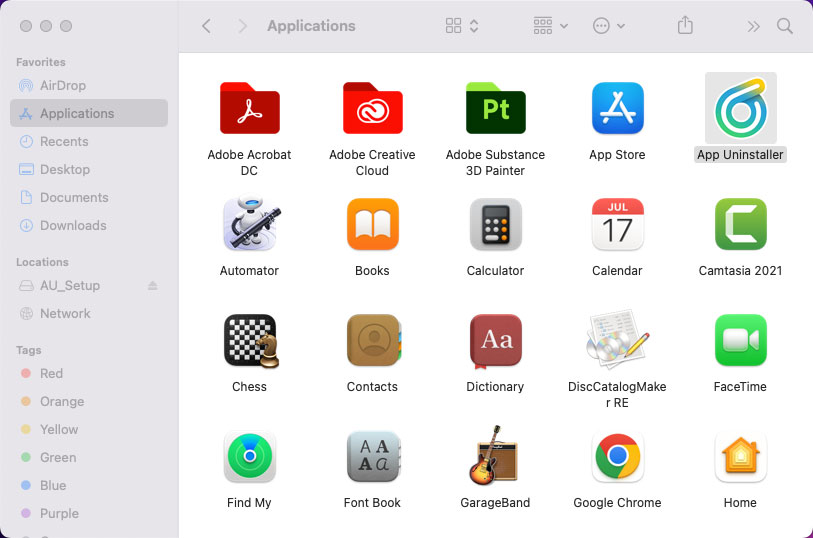
Step 4: Click Finder > Open Applications folder > Double-click the App Uninstaller icon to open it.
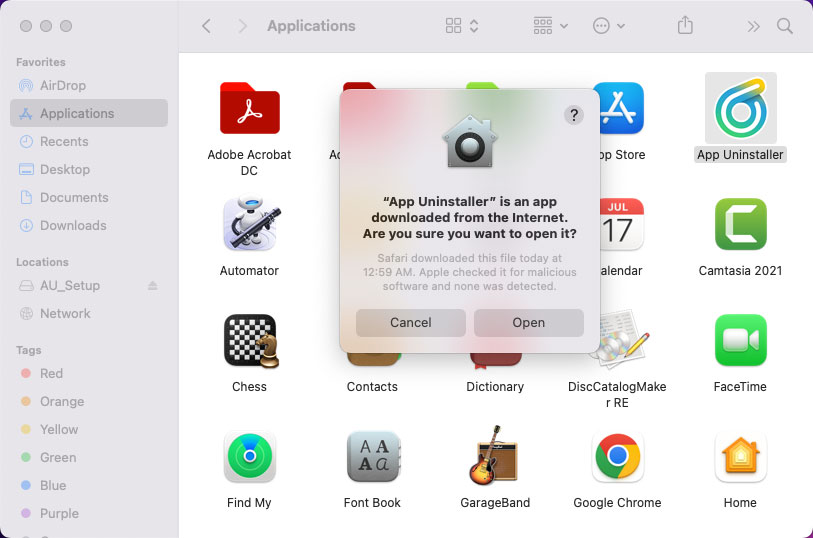
Step 5: It prompts that “App Uninstaller” is an app downloaded from the Internet. Click Open to make sure that you want to open it right now.
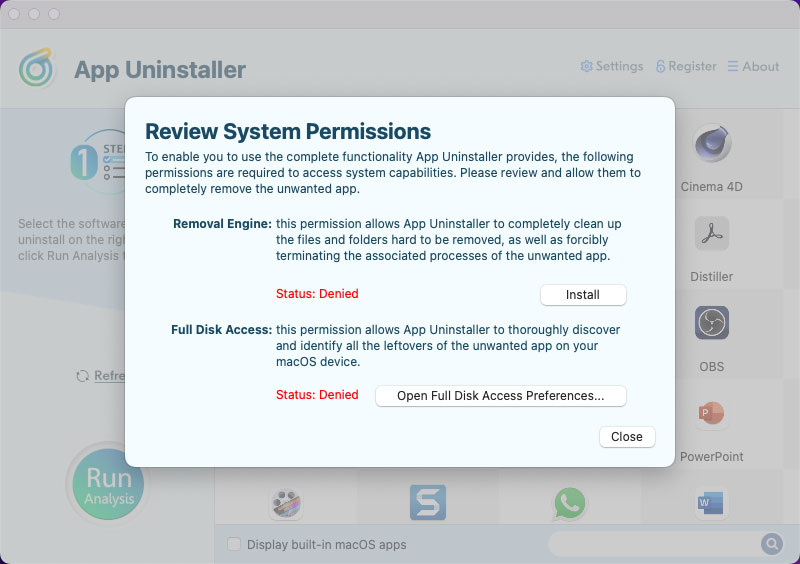
Step 6: To make sure the App Uninstaller works for your Mac, you should install Removal Engine and enable Full Disk Access. Click Install button to install the removal engine at first.
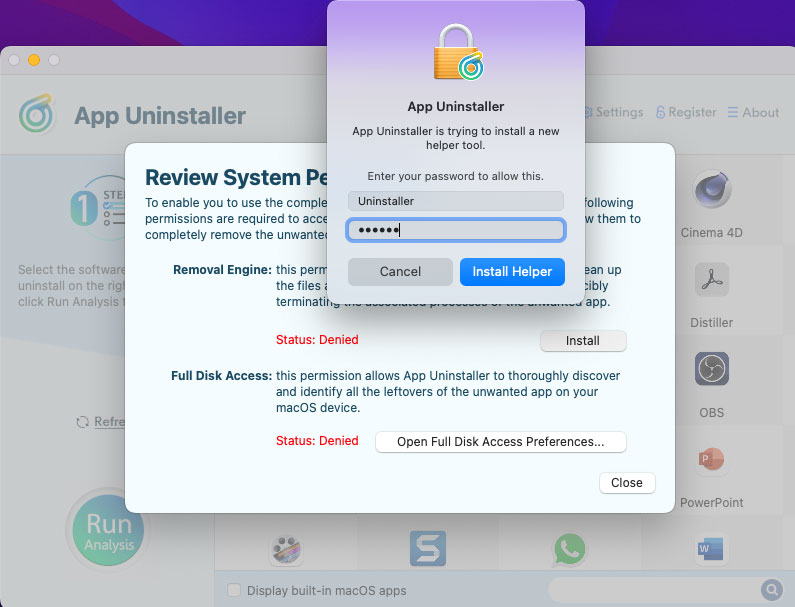
Step 7: App Uninstaller is trying to install a new helper tool, enter your password to allow this operation. And then click Install Helper.
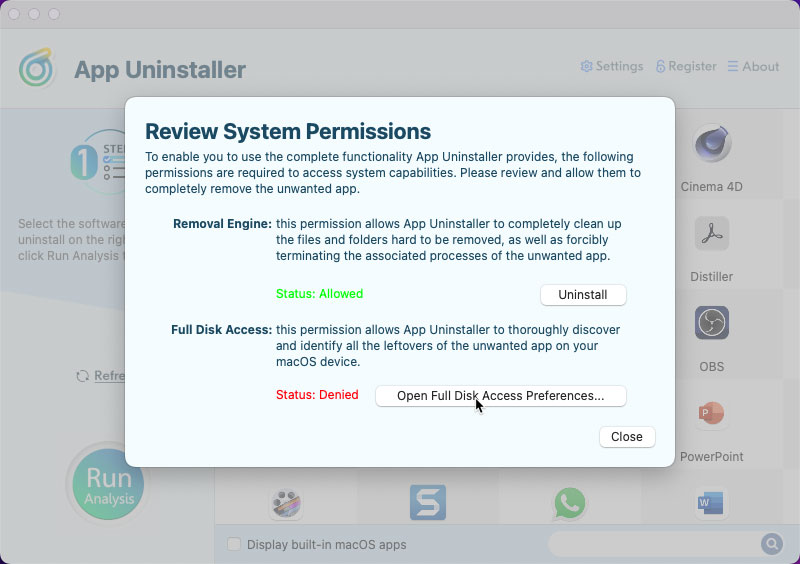
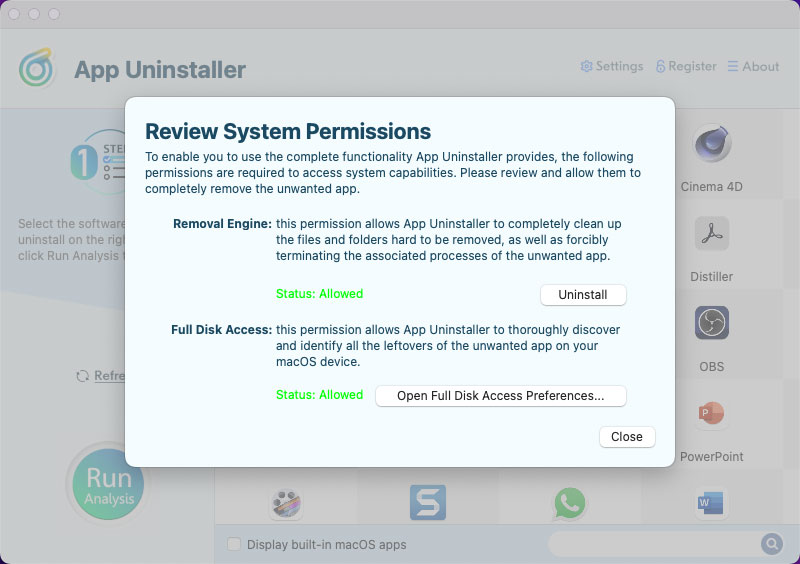
Step 8: Till now, you’ve installed Removal Engine, the Status shows Allowed. Next, click Open Full Disk Access Preferences… to allow App Uninstaller to works well for your Mac.
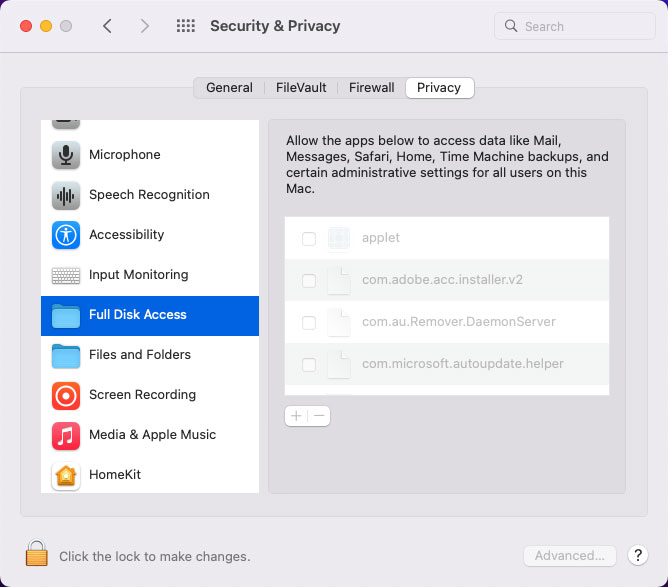
Step 9: Scroll down to Highlight Full Disk Access in the left column > Click Lock icon to make changes.
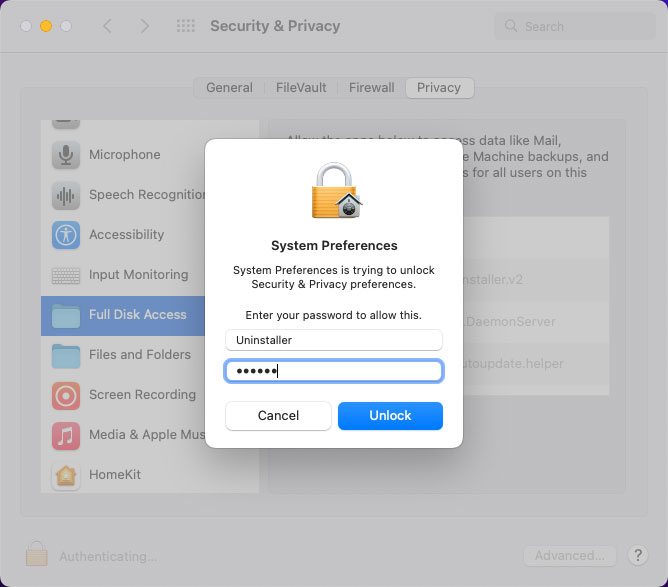
Step 10: Enter your password > Click Unblock.
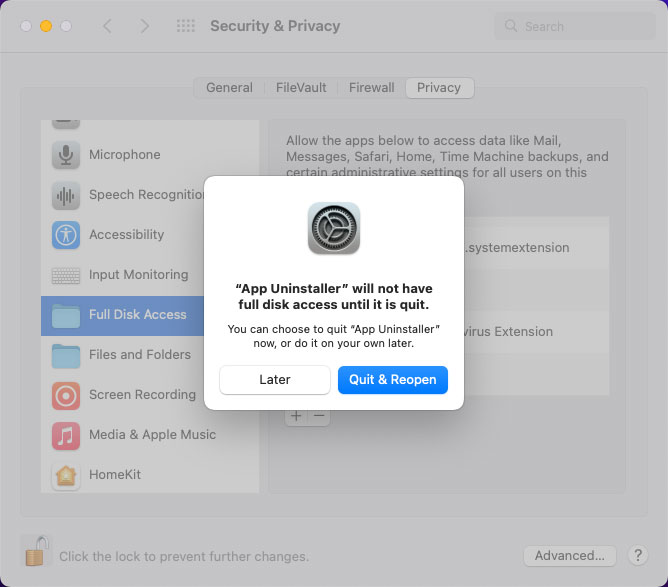
Step 11: “App Uninstaller” wont have full disk access until it is quit. Next, you need to click the Quit & Reopen button to make change.
Step 12: Till now, you have enabled full disk access for App Uninstaller. On the right-side column, you can see that the App Uninstaller is allowed/checked. Before quitting the System Preferences…, you still need to click the Lock icon to prevent the further changes.
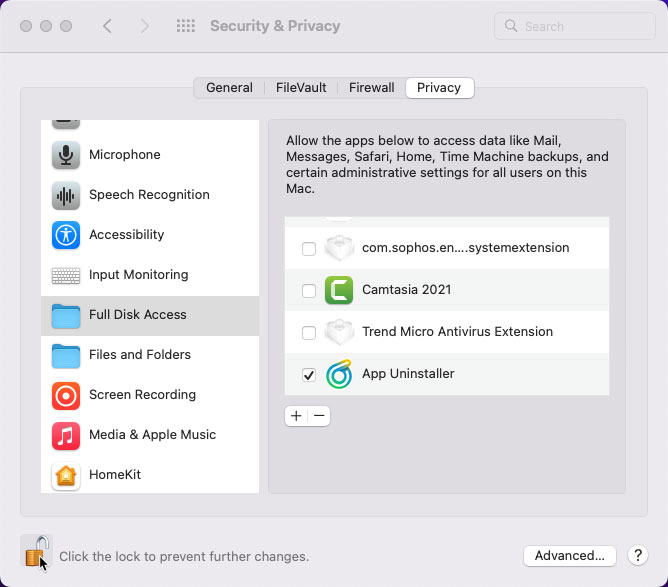
Finally, you’ve gotten the App Uninstaller installed for your Mac successfully. Removal Engine is allowed and Full Disk Access is enabled.
Look at the simple video guide here:
If needed, these following how-to guides will be helpful for you:
Posted on July 12, 2022 App Uninstaller Editor